

How to Build and Autoload Your Own PHP Package Locally
If you've never built a PHP package before, it might seem a bit daunting to figure out how to start. Where does the package actually go? Your other packages are in your vendor/ directory, but that folder is Git ignored, so that's not it...
Your options three
There are three primary ways you can work on your package:
- Create a new git repo for it, push it up to GitHub and add it to Packagist, and consume it via Composer as you develop.
Complex, and puts a very-incomplete package on Packagist - Create a new folder for it that's parallel to your project's folder, and then update your Composer to point to it.
Less complex, but requires the correct setup on any server you deploy to - Store your package in your project's source until it's good enough to release.
Simplest option, and what we'll cover today
Our sample scenario
A friend told me today they've been building a custom provider for Laravel Socialite, a tool for adding social authentication to your Laravel apps.
So, let's use that as an example. How would I go about building a custom provider, with its own unique namespace, that I might eventually want to release as a package?
Decide your namespace
First, let's pick the namespace. Socialite just requires my custom code to extend a Socialite class and implement a Socialite interface, but it doesn't care what namespace I put it in. So, let's imagine I'm releasing a collection of custom Socialite providers.
I'll maybe imagine making a package on Packagist as mattstauffer/socialite-providers, so the namespace would probably be Mattstauffer/SocialiteProviders.
My class for today will be MaceBookProvider, providing the ability for users to log into MaceBook.com, the premier social network for medieval weapon aficionados.
d your file
Let's create the file now. It'll look something like this:
<?php
namespace Mattstauffer\SocialiteProviders;
use Laravel\Socialite\Two\AbstractProvider;

use Laravel\Socialite\Two\ProviderInterface;
class MaceBookProvider extends AbstractProvider implements ProviderInterface

{

    // ...

}
But where does this file go?
It's a very common pattern to have a folder in your application with the folder name of src/ which contains your custom PHP code. That's one option—throw it all in there.
If you don't want to put it in src/, because you already have plans for it, you can also create a new folder like src/ and name it something like packages/. We'll assume for the rest of this article you've put it in packages/.
You'll want to treat that packages/ folder as if it's representative of your top-level Mattstauffer namespace. So, we'll add a subfolder SocialiteProviders to represent our Composer repo, and then our file will live at packages/SocialiteProviders/MaceBookProvider.php.
Add your own autoloader
We're almost there! Now, we need to teach Composer that any files in packages/ should be treated as being in Mattstauffer/ and then use their directory tree and filenames to define the rest of their namespaces.
Thankfully, that's exactly how PSR-4 works! So we'll tell Composer to PSR-4 autoload the packages/ directory and map it to the Mattstauffer namespace and we're good to go!
Note: You could be more precise by instead loading
packages/SocialiteProvidersas theMattstauffer/SocialiteProvidersnamespace. Your call.
Edit your composer.json and scroll down to the autoload key. If you're using a modern framework like Laravel, you'll likely already see a PSR-4 entry there, looking something like this:
    "autoload": {

        "psr-4": {

            "App\\": "app/"

        },
So, let's modify that to add ours:
    "autoload": {

        "psr-4": {

            "App\\": "app/",

            "Mattstauffer\\": "packages/"

        },
Run composer dump-autoload and you're good to go!
You can stop right there and you'll be good to go! But... if you want to take your package loading to the next level, read on...
What if my package needs dependencies?
If you're definitely going to eventually distribute this package, the solution described here might not be enough. For example, your package might have Composer dependencies of its own. You want to keep that list separate, right, instead of just adding them to the parent application's composer.json?
If this is the case, it's time for you to move up one level. You'll need to create a folder adjacent to your application's folder, and outside of the Git repository. (Watch a free video from my friend Marcel here)
So, if the package were named BestPackage and the site were named BestProject, they'd both be under the same parent directory, Sites, like this:
\Users

    \mattstauffer

        \Sites

            \BestPackage

            \BestProject
How to autoload a package outside of the Git repo using "path"
To autoload your new package, you'll need to modify your composer.json to treat the "path" to that folder (../BestPackage) as a valid Composer source.
Make your package composer-ready
But first, you'll need to ensure that your new package has a valid composer.json in it. You can create that by moving to your package's directory and running composer init.
You can choose which of the prompts you want to follow to create this file, but the most important thing is to give this package a valid "name" that is in a namespace that you own on Packagist.
Here's what my "BestPackage" composer.json might look like:
{

    "name": "mattstauffer/best-package",

    "description": "The best package!",

    "type": "library",

    "require-dev": {

        "tightenco/tlint": "^4.0"

    },

    "license": "MIT",

    "authors": [

        {

            "name": "Matt Stauffer",

            "email": "matt@tighten.co"

        }

    ],

    "require": {}

}
Load the package using the "path" type repository key
Next, back in the original project's composer.json, create a repositories key, which will contain an array of objects, and add your first object:
{

    // require, require-dev, etc.

    "repositories": [

        {

            "type": "path",

            "url": "../BestPackage"

        }

    ]

}
Require that package
Finally, you can require that package!
composer require mattstauffer/best-package
One caveat
The downside of this method is that your package won't deploy along with your repo, so you'll have to set the package up parallel to your app on other servers as well.
But this is a great option for preparing for real package distribution.
Your time is limited, so don't waste it living someone else's life. Don't be trapped by dogma - which is living with the results of other people's thinking. Don't let the noise of others' opinions drown out your own inner voice. And most important, have the courage to follow your heart and intuition.
Praesent ac quam sed magna gravida interdum. Vivamus sed nunc lobortis, tempor ante ut, gravida nibh. Praesent sed euismod odio. Maecenas dui dui, euismod quis lobortis quis, dignissim ut eros. Curabitur cursus lacinia sollicitudin. Aenean vitae erat imperdiet, egestas nisi non, placerat sapien. In nec commodo justo. Nunc posuere lacinia neque eu malesuada. Sed lacus lacus, tincidunt id faucibus eget, sagittis sed enim. Nunc nec dapibus odio.
How to Handle Multi-Threading (Concurrency) in Laravel
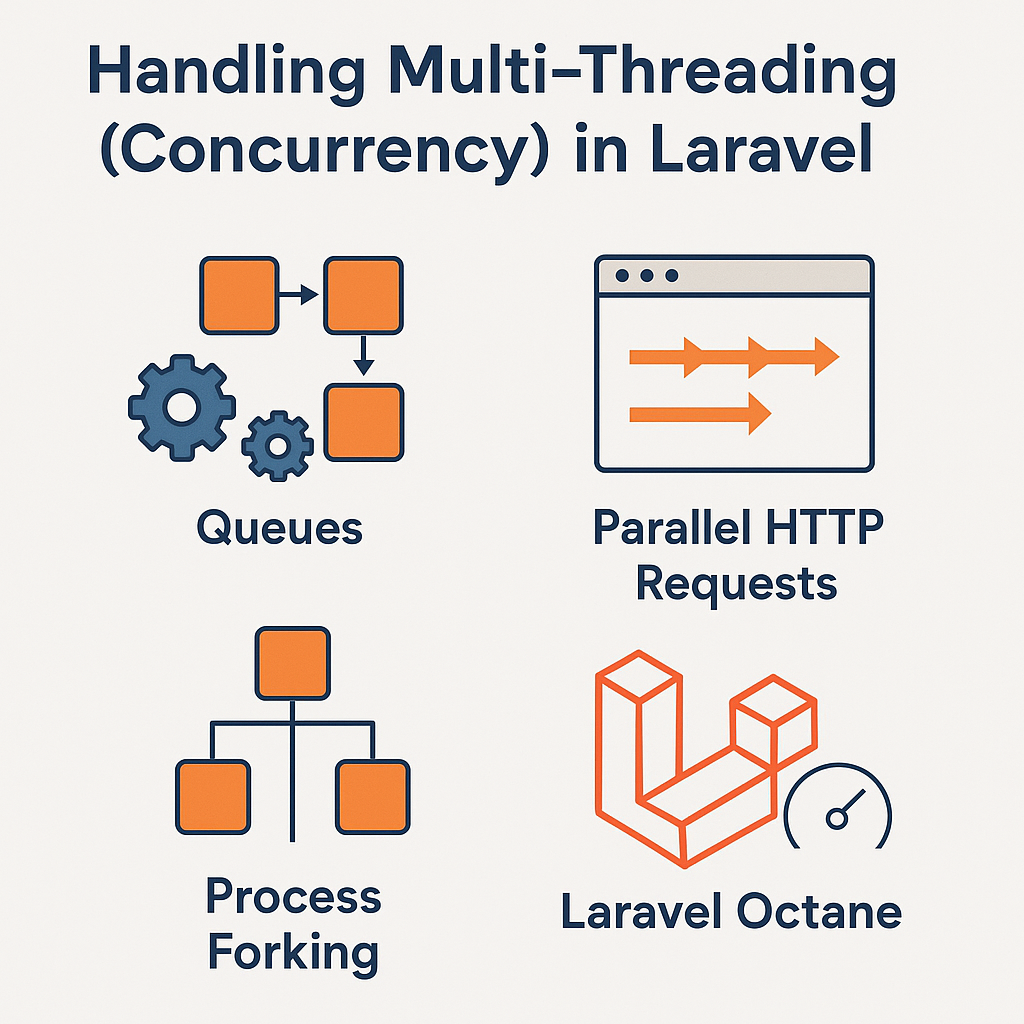
🤔 What Does “Multi-Threading” Mean in PHP?
PHP itself is single-threaded, but Laravel provides several asynchronous and concurrent programming patterns through:
-
Queues (for background jobs)
-
Event broadcasting
-
Process forking (via
pcntl_fork) -
Parallel HTTP requests using Guzzle
-
Laravel Octane (Swoole/RoadRunner) for true parallelism
🧵 1. Using Laravel Queues for Asynchronous Tasks
Laravel queues are the most Laravel-native way to defer time-consuming operations like:
-
Sending emails
-
Processing uploaded files
-
Generating reports or PDFs
Example:
Define your job using:
You can then run the queue worker:
✅ Tip: Always use queues for heavy background processing to boost Laravel performance and user experience.
🧪 2. Running Parallel HTTP Requests (With Guzzle)
For microservice or API-heavy apps, Laravel can make parallel API calls using Guzzle Promises:
This reduces waiting time compared to sequential requests — great for performance!
⚙️ 3. Process Forking with pcntl_fork
For advanced concurrency in CLI scripts or daemons, you can use pcntl_fork() in PHP (CLI only):
Use this carefully — it’s powerful but comes with caveats (memory, portability, error handling).
⚡ 4. Real Parallelism with Laravel Octane
If you want true performance gains with concurrent request handling, Laravel Octane is your best choice.
Install it via:
Then serve your app using Swoole or RoadRunner:
Laravel Octane boosts performance by keeping your app in memory between requests, enabling parallel task handling, and removing bootstrapping overhead.
✅ Best Practices for Laravel Concurrency
-
Use queues as your first step toward asynchronous operations
-
Leverage Laravel Octane for high-performance, concurrent web request handling
-
For parallel external requests, use Guzzle async
-
Avoid low-level
pcntl_forkunless absolutely needed in CLI apps
🧠 Final Thoughts
While PHP is not a multi-threaded language by nature, Laravel provides multiple ways to handle concurrency effectively. Whether through queues, parallel API calls, or Octane, you can significantly boost performance in your Laravel applications.
Implementing concurrency in Laravel doesn’t require reinventing the wheel—just the right tools and a bit of planning.
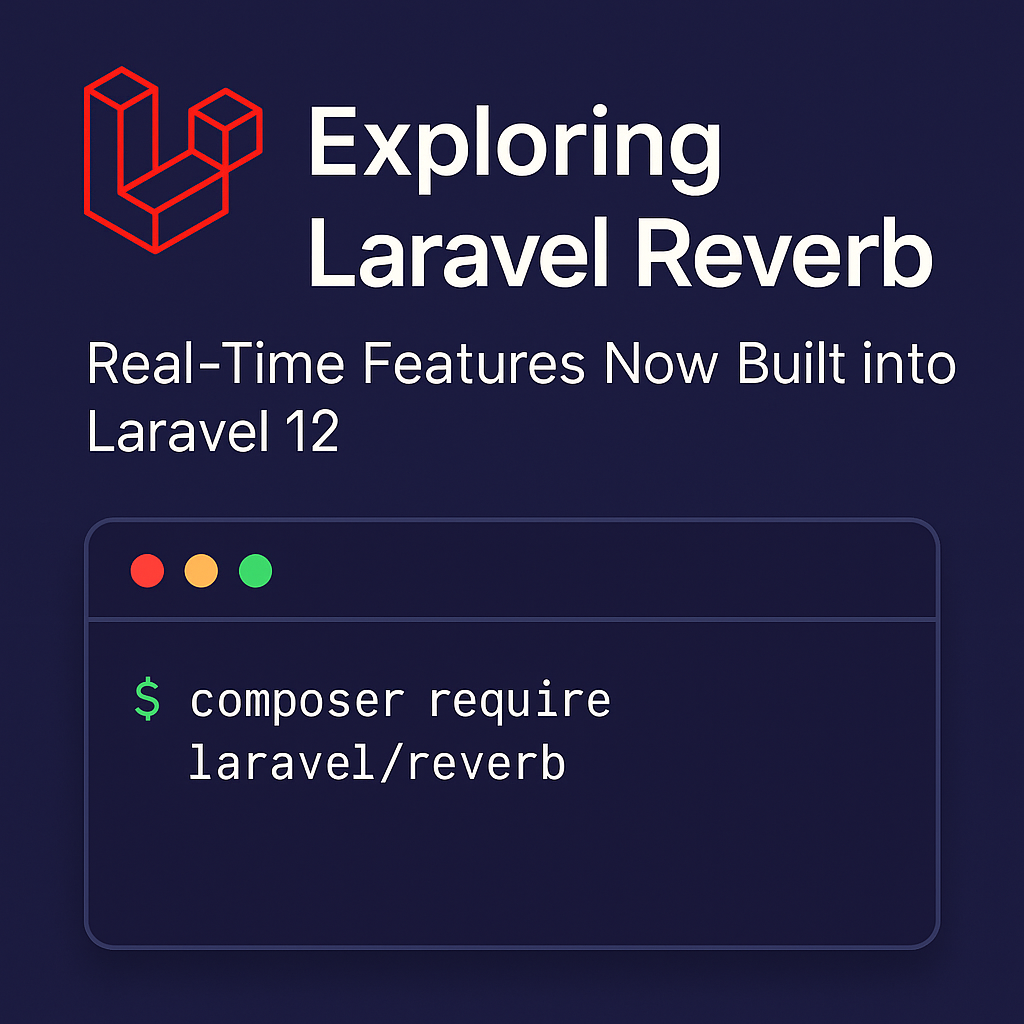
Exploring Laravel Reverb: Real-Time Features Now Built into Laravel 12
Exploring Laravel Reverb: Real-Time Features Now Built into Laravel 12
Introduction
With the release of Laravel 12, the framework continues to push the boundaries of modern PHP development. One of the most exciting new features is Laravel Reverb, a native solution for real-time broadcasting that eliminates the need for third-party services like Pusher.
In this post, we’ll explore what Laravel Reverb is, why it’s a game-changer for developers, and how to get started with it.
What is Laravel Reverb?
Laravel Reverb is a new first-party package that provides real-time WebSocket support for Laravel applications. It allows developers to build interactive apps (like chat systems, notifications, or live dashboards) using Laravel’s broadcasting features—without relying on third-party WebSocket providers.
Before Laravel 12, most developers used services like Pusher, Ably, or set up their own Node.js-based WebSocket servers. Reverb simplifies this by giving us a Laravel-native broadcasting server that works seamlessly with the existing event and broadcasting system.
Why Laravel Reverb Matters
Here’s why Laravel Reverb is such a powerful addition to the Laravel ecosystem:
-
✅ First-party support: Built and maintained by the Laravel team.
-
✅ Self-hosted: Full control over infrastructure and data.
-
✅ Optimized for Laravel: Works natively with broadcasting events and
Broadcast::channel()logic. -
✅ Better Developer Experience: Zero config needed when using Laravel Sail or Forge.
If you’re building real-time applications and want full control without vendor lock-in, Reverb is a compelling choice.
How to Get Started with Laravel Reverb
1. Install Laravel Reverb
You can install Laravel Reverb using Composer:
2. Publish Configuration
This will create a config/reverb.php file where you can customize Reverb settings.
3. Run the Reverb Server
To start the WebSocket server locally:
The server will now listen for connections and broadcast events in real time.
Broadcasting Events with Reverb
The process of broadcasting events remains exactly the same:
In your event class, implement the ShouldBroadcast interface. Reverb will automatically handle broadcasting to the configured channels.
Frontend Integration
You can use Laravel Echo (a JavaScript library) to listen to events in your frontend:
Reverb uses port 6001 by default, which you can change in the config file.
Final Thoughts
Laravel Reverb is a major step forward for Laravel developers who want to build reactive, real-time applications without leaving the Laravel ecosystem. Whether you’re building a chat app, a live feed, or a dynamic dashboard, Reverb makes it faster and easier to implement real-time features natively.

Laravel 8 is Now Released!
Laravel 8 is now released and includes many new features including Laravel Jetstream, a models directory, model factory classes, migration squashing, rate-limiting improvements, time testing helpers, dynamic blade components, and many more features.
Before we jump into the new features, we’d like to point out that starting with version 6, Laravel now follows semver and will release a new major version every six months. You can see how the release process works here.
Laravel Jetstream
Laravel Jetstream improves upon the existing Laravel UI scaffolding found in previous versions. It provides a starting point for new projects, including login, registration, email verification, two-factor authentication, session management, API support via Laravel, and team management.
Models Directory
Laravel 8’s application skeleton includes an app/Models directory. All generator commands assume models exist in app/Models; however if this directory doesn’t exist, the framework will assume the application keeps models within the app/ folder.
Model Factory Classes
Eloquent model factories are now class-based starting in Laravel 8, with improved support for relationships between factories (i.e., a user has many posts). I think you’ll agree how awesome the new syntax is for generating records via the new and improved model factories:
use App\Models\User;
User::factory()->count(50)->create();
// using a model state "suspended" defined within the factory class

User::factory()->count(5)->suspended()->create();
Migration Squashing
If your application contains many migration files, you can now squash them into a single SQL file. This file will be executed first when running migrations, followed by any remaining migration files that are not part of the squashed schema file. Squashing existing migrations can decrease migration file bloat and possibly improve performance while running tests.
Improved Rate Limiting
Laravel 8 brings improvements to existing rate limiting functionality while supporting backward compatibility with the existing throttle middleware and offering far more flexibility. Laravel 8 has the concept of Rate Limiters that you can define via a facade:
use Illuminate\Cache\RateLimiting\Limit;

use Illuminate\Support\Facades\RateLimiter;
RateLimiter::for('global', function (Request $request) {

    return Limit::perMinute(1000);

});
As you can see, the for() method takes the HTTP request instance, giving you full control over limiting requests dynamically.
Time Testing Helpers
Laravel users have enjoyed full control over time modification via the excellent Carbon PHP library. Laravel 8 brings this one step further by providing convenient test helpers for manipulating the time within tests:
// Travel into the future...

$this->travel(5)->milliseconds();

$this->travel(5)->seconds();

$this->travel(5)->minutes();

$this->travel(5)->hours();

$this->travel(5)->days();

$this->travel(5)->weeks();

$this->travel(5)->years();
// Travel into the past...

$this->travel(-5)->hours();
// Travel to an exact time...

$this->travelTo(now()->subHours(6));
// Return back to the present time...

$this->travelBack();
When using these methods, the time will reset between each test.
Dynamic Blade Components
Sometimes you need to render a blade component dynamically at runtime. Laravel 8 provides the <x-dynamic-component/> to render the component:
<x-dynamic-component :component="$componentName" class="mt-4" />
Find out more about Laravel v8…
These are just a few of the new features in Laravel 8 and to see a complete list check out the Laravel 8 release notes as well as the upgrade guide. Also, don’t forget about Laravel Shift if you want an easy way of updating.
Taylor also gave a walkthrough of some of these features at Laracon Online and, you can still purchase a ticket if you’d like to see that. Also, Laracasts: What’s New in Laravel 8 series can help you get up-to-speed with new features in this release.
As with all releases, Laravel is made possible by so many people and, we’d like to thank everyone that contributes, that submits PR’s, that shares ideas, and that uses the framework. Laravel is truly a global team effort.

Laravel Installer now includes support for Jetstream
Today the Laravel team released a new major version of “laravel/installer” that includes support for quickly starting Jetstream projects. With this new version when you run “laravel new project-name” you’ll get Jetstream options. For example:

laravel new foo --jet --dev
Then it’ll ask you which Jetstream you prefer:
Which Jetstream stack do you prefer?

  [0] Livewire

  [1] inertia

> livewire
Will your application use teams? (yes/no) [no]:

...
If you already have the installer installed, to get the version all you should need to run is composer global update but that didn’t work for me. Instead, I had to uninstall then reinstall:
composer global remove laravel/installer

composer global require laravel/installer

Launching Blade UI Kit v0.1
After months of development, testing, and fine-tuning, I’m happy to say that the very first version of Blade UI Kit is finally publicly available.
Blade UI Kit is a set of renderless components to utilise in your Laravel Blade views. In all essence, it’s a collection of useful utilities, connecting the dots between different parts of the TALL stack. It was made for Blade, Laravel’s powerful templating engine.
By default, Blade UI Kit ships with components like:
A countdown timer
Markdown and rich text editors
An avatar generator
Form inputs
Markdown to HTML converter
Date & Color pickers
And much more…
To give you a practical introduction example, let’s look at the way how Blade UI Kit’s alert component replaces Laravel’s default alert snippet from its UI scaffolding:
@if (session('status'))
@endif
This is turned into this:
As you can see, all the implementation details about the behaviour of the component are hidden away. Making it up to you to decide how to style it.
All of Blade UI Kit’s components were designed with this in mind. Letting you worry less about implementation details and allowing you to focus on what truly matters: building your app. All while providing a great developer experience.
To give you a more proper demonstration of the library, I’ve built an example Laravel project that makes use of some of the components from Blade UI Kit.
Right now, Blade UI Kit is at its infant stage, meaning it probably still has some design flaws that we’ll hopefully resolve in the future when the library matures and more people start using it. I’m inviting anyone who wants to contribute to head over to the main repository and help out by sending in pull requests or creating thoughtful issues on how we can add more and better components and improve the core mechanics.
I’ve worked hard to make sure the library helps you in your workflow and hope it tackles some of the pain points you experience when building your Laravel apps. Let me know on Twitter what you think by tweeting with the #BladeUIKit hashtag!
Enjoy building your next app with Blade UI Kit!